
Chapter 4 Sequential Instructions
The sequential instructions of FBs-PLC shown in this chapter are also listed in section 3.1. Please refer to Chapter 1,
"PLC Ladder diagram and the Coding rules of Mnemonic instruction", for the coding rules in applying those instructions. In
this chapter, we only introduce the applicable operands, ranges and element characteristics, functionality.
4.1Valid Operand of Sequential Instructions
|
Operand |
X |
Y |
M |
SM |
S |
T |
C |
TR |
OPEN |
SHORT |
|
Ranges |
X0 |
Y0 |
M0 |
M1912 |
S0 |
T0 |
C0 |
TR0 |
— |
— |
|
| |
| |
| |
| |
| |
| |
| |
| |
|||
|
Instruction |
||||||||||
|
X255 |
Y255 |
M1911 |
M2001 |
S999 |
T255 |
C255 |
TR39 |
|||
|
○ |
○ |
|||||||||
|
ORG |
||||||||||
|
○ |
○ |
○ |
○ |
○ |
○ |
○ |
||||
|
ORG NOT |
○ |
○ |
○ |
○ |
○ |
○ |
○ |
○ |
○ |
○ |
|
ORG TU |
○ |
○ |
○ |
※ |
○ |
○ |
○ |
|||
|
ORG TD |
○ |
○ |
○ |
※ |
○ |
○ |
○ |
|||
|
LD |
○ |
○ |
○ |
○ |
○ |
○ |
○ |
|||
|
LD NOT |
○ |
○ |
○ |
○ |
○ |
○ |
○ |
○ |
○ |
○ |
|
LD TU |
○ |
○ |
○ |
※ |
○ |
○ |
○ |
|||
|
LD TD |
○ |
○ |
○ |
※ |
○ |
○ |
○ |
|||
|
AND |
○ |
○ |
○ |
○ |
○ |
○ |
○ |
|||
|
AND NOT |
○ |
○ |
○ |
○ |
○ |
○ |
○ |
|||
|
AND TU |
○ |
○ |
○ |
※ |
○ |
○ |
○ |
|||
|
○ |
○ |
|||||||||
|
AND TD |
○ |
○ |
○ |
※ |
○ |
○ |
○ |
|||
|
OR |
○ |
○ |
○ |
○ |
○ |
○ |
○ |
|||
|
OR NOT |
○ |
○ |
○ |
○ |
○ |
○ |
○ |
|||
|
OR TU |
○ |
○ |
○ |
※ |
○ |
○ |
○ |
|||
|
OR TD |
○ |
○ |
○ |
※ |
○ |
○ |
○ |
|||
|
OUT |
○ |
○ |
※ |
○ |
||||||
|
OUT NOT |
○ |
○ |
※ |
○ |
− |
|||||
|
OUT L |
○ |
|||||||||
|
ANDLD |
||||||||||
|
ORLD |
○ |
○ |
※ |
○ |
− |
|||||
|
TU |
− |
|||||||||
|
TD |
− |
|||||||||
|
NOT |
− |
|||||||||
|
OUTS |
||||||||||
|
OUTR |
○ |
○ |
※ |
○ |
※For the relays marked with a ‘◤’ symbol in the special relay table(please refer to section 2.3)is write prohibited. In addition, TU and TD contacts are not supported for those relays as well. The operands marked with a ‘*‘ symbol in the table shown above should exclude those special relays.
4.2Element Description
4.2.1Characteristics of A,B,TU and TD Contacts
|
●Input X0 from the input terminal block |
X0 |
ON |
|
OFF |
1
|
●A contact Element status |
X0 |
0 |
t t |
t: scan time |
|
●B contact Element status |
X0 |
1 |
||
|
0 |
||||
|
●TU contact Element status |
X0 |
1 |
||
|
0 |
||||
|
●TD contact Element status |
X0 |
1 |
||
|
0 |
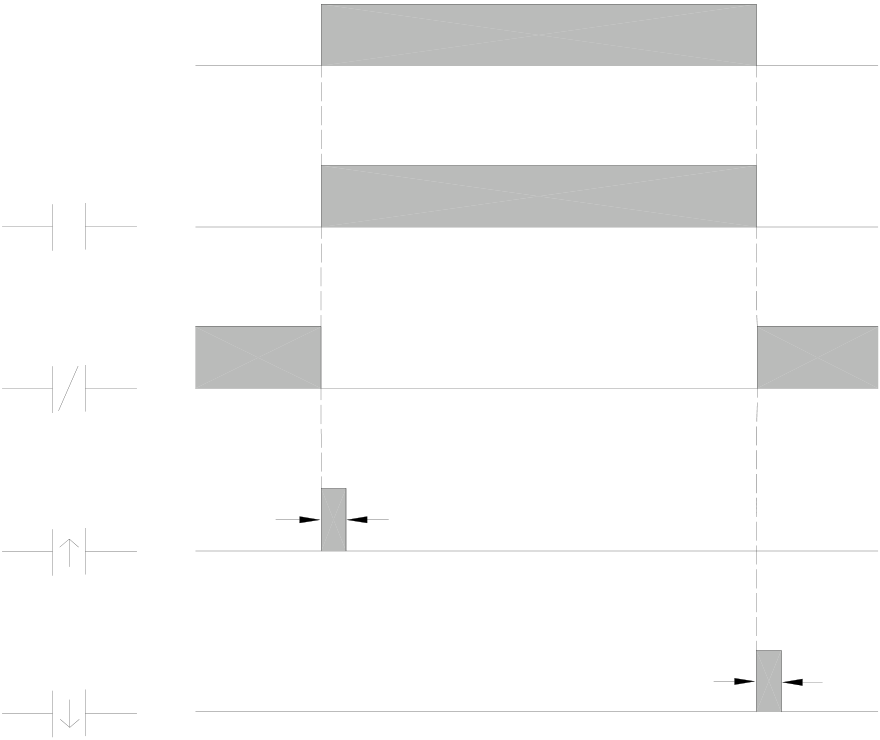
The waveform shown above reveals the function of A, B, TU and TD elements by exercising the external input X0 form OFF to ON then OFF.
TU (Transition Up): This is the “Transition Up Contact”. Only a rising edge (0Æ1) of the referenced signal will turn on this element for one scan time.
TD (Transition Down): This is the “Transition Down Contact”. Only a falling edge (1Æ0) of the referenced signal will turn on this element for one scan time.
TU and TD contact will work normally as described above if the change of the status of the valid referenced operands listed in the “Valid Range of the Operand of Sequential instructions” table are not driven by the function instructions.
|
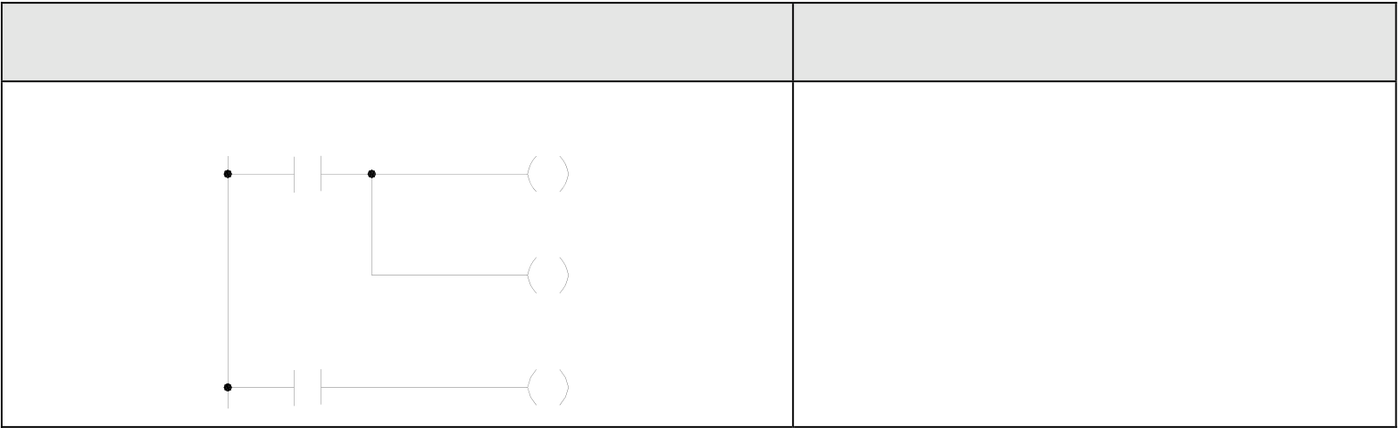
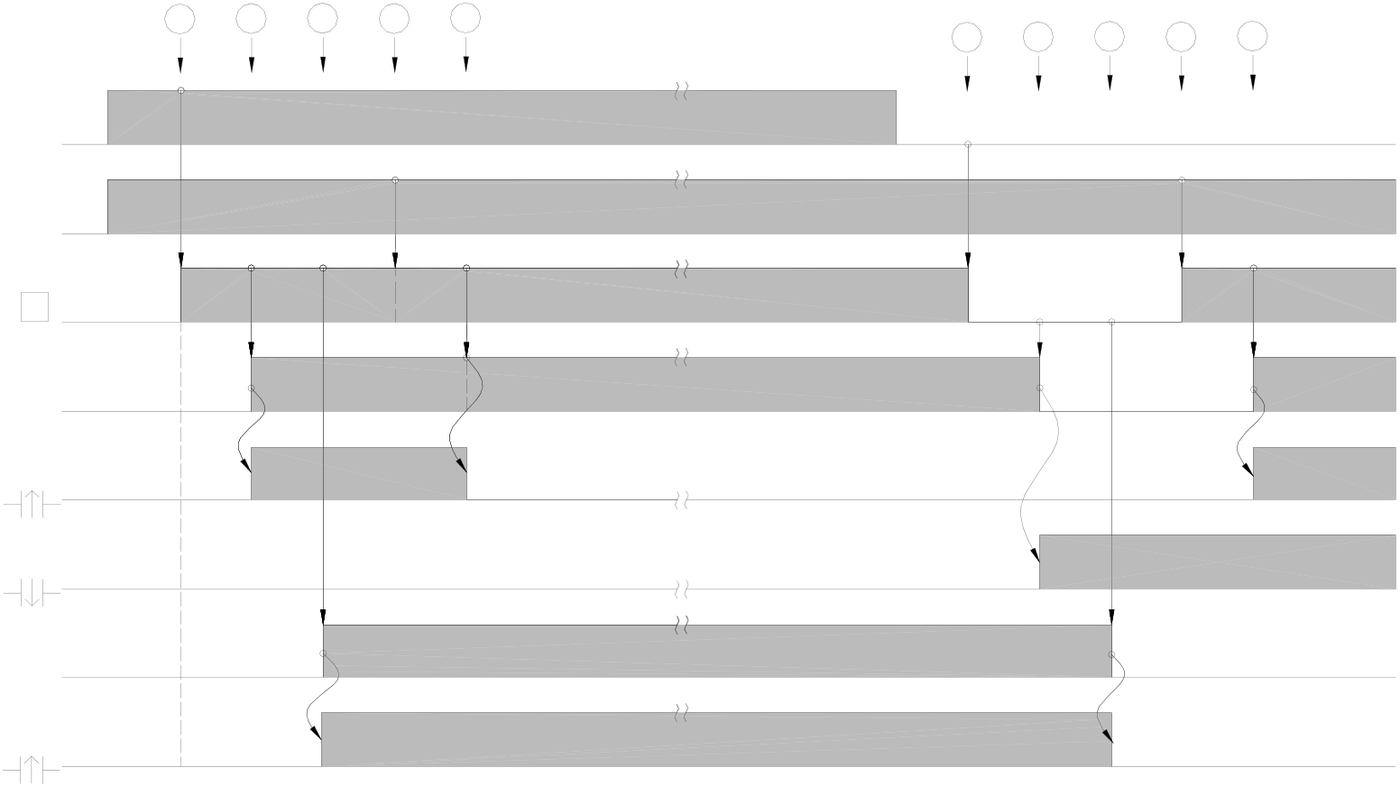
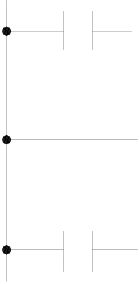
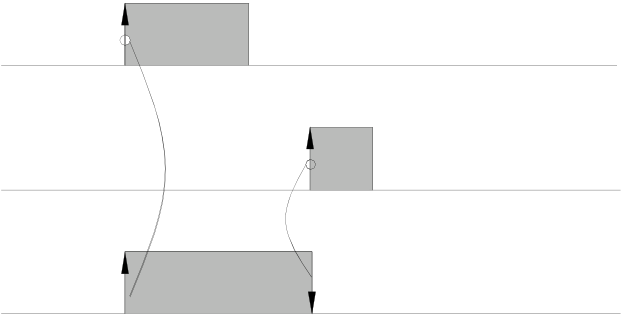
Remark: For TU(TD) elements which operand is of relay will turn on after the first time the corresponding relay get driven from 0 to 1(1 to 0). When the next time the corresponding relay get driven from 1 to 1(0 to 0) the TD(TU) element will turn OFF. Care should be taken while there is a multiple coil usage situation existed in the ladder program. This situation can be best illustrated at below. In the waveform we can see Y0 TU element only turn on between ○b and ○e time which only the Y0 TU elements existed between rung 1 and rung 2 can detect the Y0 rising edge, while other Y0 TU elements out side these two ladder rungs will never aware the occurrence of the rising edge. For the relays do not have the multiple coil usage in ladder program, The ON status of corresponding TU or TD element can be sustained for one scan time, but for relays which contrary to above, the turn on time will shorter than 1 scan time as illustrated at below. |
|
Ladder Diagram |
Y0 |
Mnemonic code |
|
X0 |
ORG X 0 ——————— ○ |
|
|
Y1 |
OUT Y 0 ——————— ○ |
|
|
OUT Y 1 ——————— ○ |
ORG X 1 ——————— ○
|
X1 |
Y0 |
OUT Y 0 ——————— ○ |
||||||||
|
N times scan |
Scan Time t |
N+1 times scan |
||||||||
|
|
|
|||||||||
|
a |
b |
c |
d |
e |
a |
b |
c |
d |
e |
|

X0
X1
A
Y0
Y0
Y0
Y1
Y1
A: The internal accumulator of PLC
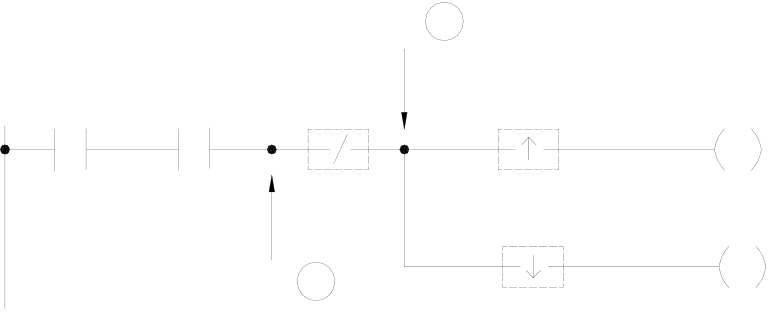
Besides the TU/TD instructions which can detect the status change of reference operand, FBs-PLC also provides the instructions to detect the change of node status (power flow). For details please refer the descriptions of FUN4 (DIFU) and FUN5 (DIFD) instructions.
4.2.2OPEN and SHORT Contact
The status of OPEN and SHORT contact are fixed and can’t be changed by any ladder instructions. Those two contacts are mainly used in the places of the Ladder Diagram where fixed contact statuses are required, such as the place where the input of an application instruction is used to select the mode. The sample program shown below gives an example of configuring an Up/Down counter (UDCTR) to an Up counter by using the SHORT contact.
|
X0 |
PSU |
7.UDCTR |
0 |
CUP |
ORG |
X |
0 |
|
|
CV : |
R |
LD |
SHORT |
|||||
|
X1 |
10 |
LD |
X |
1 |
||||
|
U/D |
PV : |
R |
||||||
|
FUN |
7 |
|||||||
|
0 |
||||||||
|
CV: R |
||||||||
|
CLR |
PV: R |
10 |
||||||
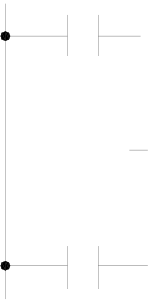
FUN7 is the UDCTR function. While rising edge of CK input occur, FUN7 will count up if the U/D status is 1 or count down if the U/D status is 0. The example shown above, U/D status is fixed at 1 since U/D is directly connected from the origin-line to a SHORT contact, therefore FUN7 becomes an Up counter. On the contrary, if the U/D input of FUN7 is connected with an OPEN contact from the origin-line, the FUN7 becomes a DOWN counter.
|
X0 |
7.UDCTR |
ORG |
X |
0 |
||||||||||||||||||||||||||||||||||||||||
|
PSU |
CV : |
R |
0 |
CUP |
LD |
OPEN |
||||||||||||||||||||||||||||||||||||||
|
LD |
X |
1 |
||||||||||||||||||||||||||||||||||||||||||
|
U/D |
PV : |
R |
10 |
FUN |
7 |
|||||||||||||||||||||||||||||||||||||||
|
X1 |
CV: R |
0 |
||||||||||||||||||||||||||||||||||||||||||
|
CLR |
PV: R |
10 |
||||||||||||||||||||||||||||||||||||||||||
X0 X0 Y0 ORG X 0 |
||||||||||||||||||||||||||||||||||||||||||||
|
L |
OR |
Y |
0 |
|||||||||||||||||||||||||||||||||||||||||
|
Y0 |
AND |
NOT |
X |
1 |
||||||||||||||||||||||||||||||||||||||||
|
OUT |
L |
Y |
0 |
|||||||||||||||||||||||||||||||||||||||||



From the above example, if turn the X0 "ON" then "OFF", Y0 will keep at "ON". When change the PLC state from RUN to STOP then RUN or turn the power off then on, the Y0 still keep at ON state. But if use the OUT Y0 instruction instead of the OUT L Y0 , Y0 status will be OFF.



4.2.5Set Coil and Reset Coil
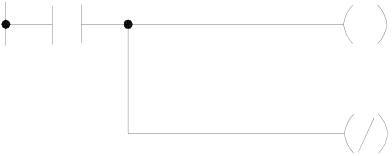
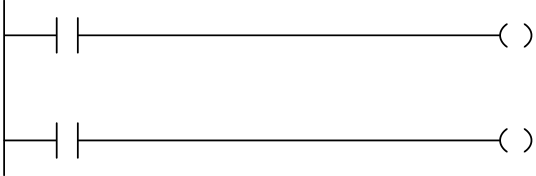
Set Coil writes 1 into an operand specified. Reset Coil writes 0 into an operand specified. The characteristics depicts at
below.
ORG X0
OUTS Y0
ORG X1
OUTR Y0
X0
SET
|
X1 |
RST |
Y0
4.3Node Operation Instructions
A node is the connection between elements in a ladder diagram consisting of sequential instruction elements (please
refer to Section 1.2). There are four instructions dedicated for node status operation in FBs-PLC. The two instructions,
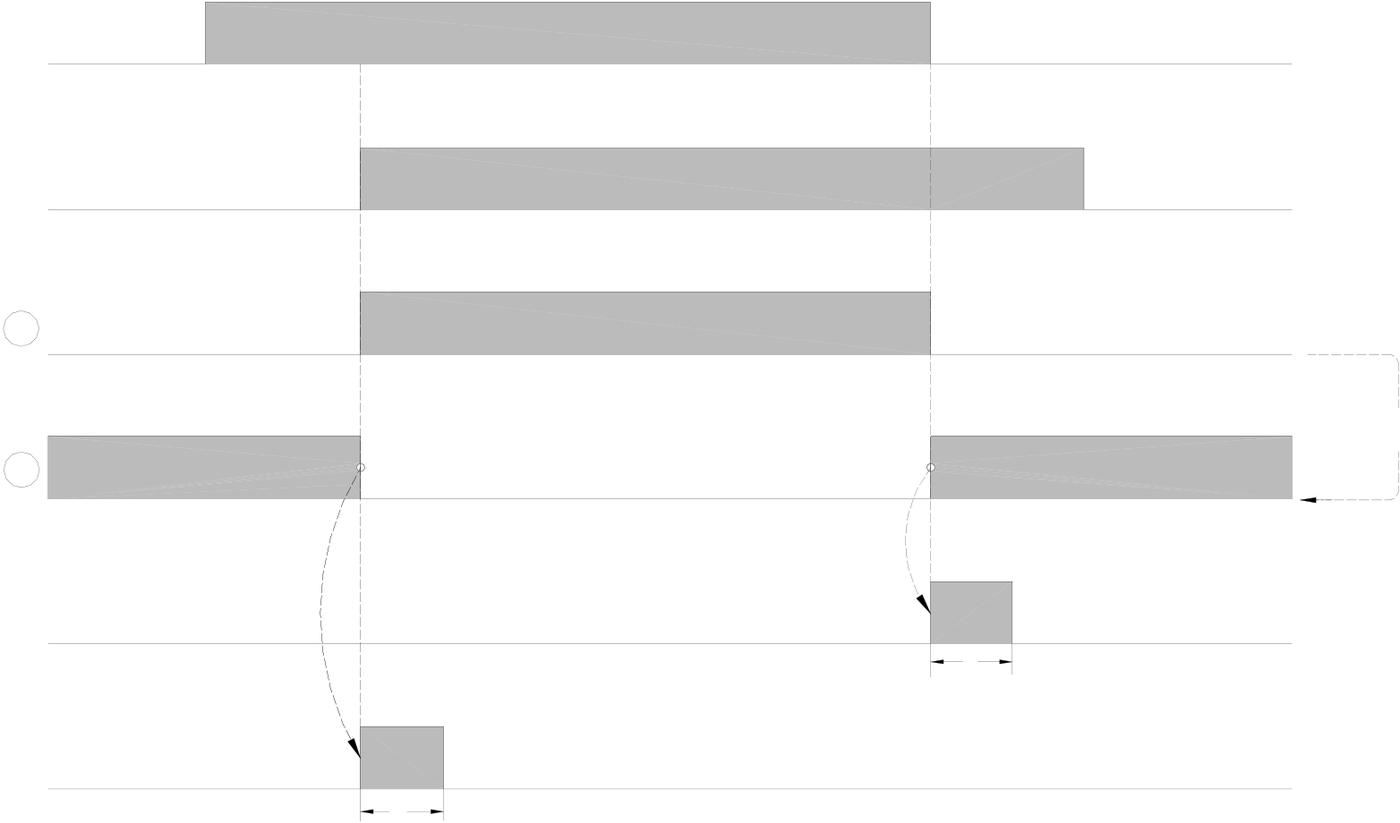
“OUT TR” and “LD TR”, have been discussed in Section 1.6 of this manual. Using the diagram below, the three node
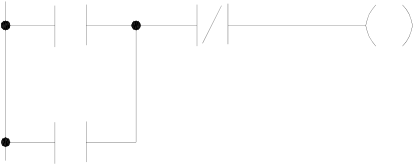
operation instructions NOT, TU and TD, are illustrated.
|
X0 |
X1 |
Node B |
Y0 |
ORG |
X |
0 |
|
AND |
X |
1 |
||||
|
NOT |
TR |
0 |
||||
|
OUT |
TU
|
Node A |
Y1 |
OUT |
Y |
0 |
|
LD |
TR |
0 |
TD
|
OUT |
Y |
1 |
X0
X1
Node A
Incerse Inverse
Node B
differential down differential up
Y0
t
Y1
t
t : Scan time
Tip: press ← → to switch chapters, Ctrl+K to search