|
⚠Danger |
|
This section introduces the installation requests and process of UperLogic.
2-1 Operating Environment
It supports the following operation systems:
Windows 8 (32&64 bits)
Windows 10 (32&64 bits)
Windows 11 (32&64 bits)
2-1-1 Connection Configuration
Through the USB/Type C or by connecting network to PC and PLC, it allows the user to upload and download the ladder diagram, control the PLC operation and monitor the PLC Register, etc.
2-2 Installation Process
This section describes how to install UperLogic.
1. After downloading the UperLogic Installation file from the official website, double click [Install] file to begin the installation. The system will ask if the user want to install the UperLogic to the PC. If yes, please click [Next].
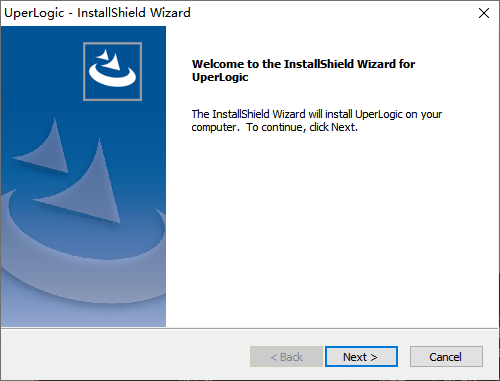
Fig. 1: Installation interface_1
2. The system will ask the user about the type to be installed. It is recommended that [Complete] be selected to prevent from missing out the corresponding drive software. After being confirmed, click [Next].
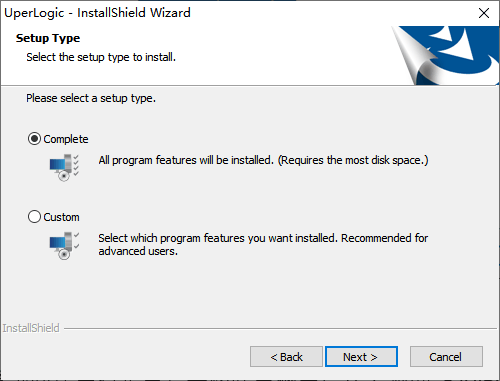
Fig. 2: Installation interface_2
3. After confirming that the executed installation as correct, click [Install] to being the installation. To modify the previous setting, click [Back] and you may return to the previous page to perform the required setting.
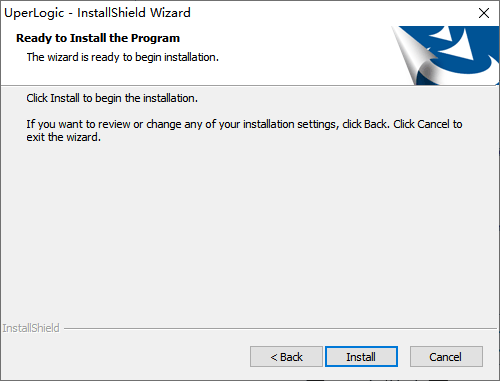
Fig. 3: Installation interface_3
4. During the system installation process, the FATEK Program Drive Install will appear in the webpage. Click [Next] to begin the drive program installation.
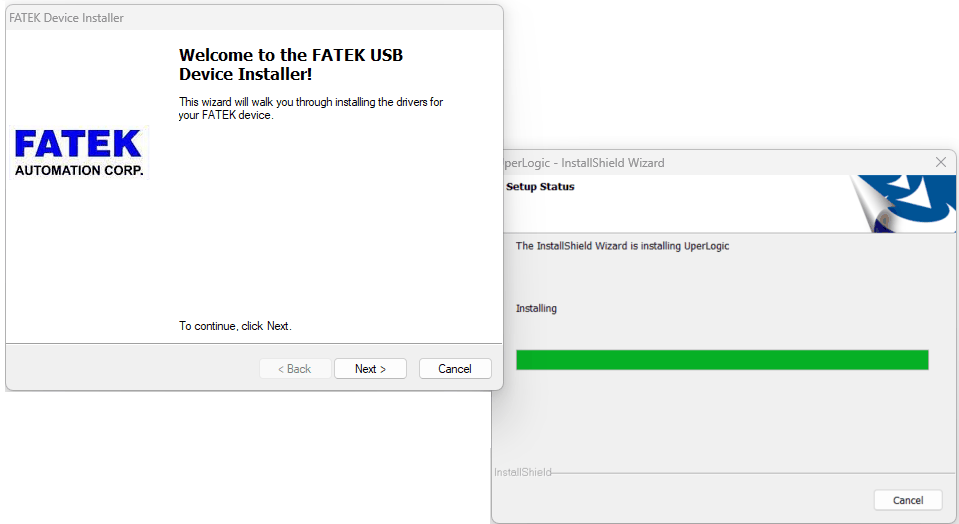
Fig. 4: Drive program installation interface
5. After installing the drive program, the system will display following information. Click [Finish] to complete the drive program installation.
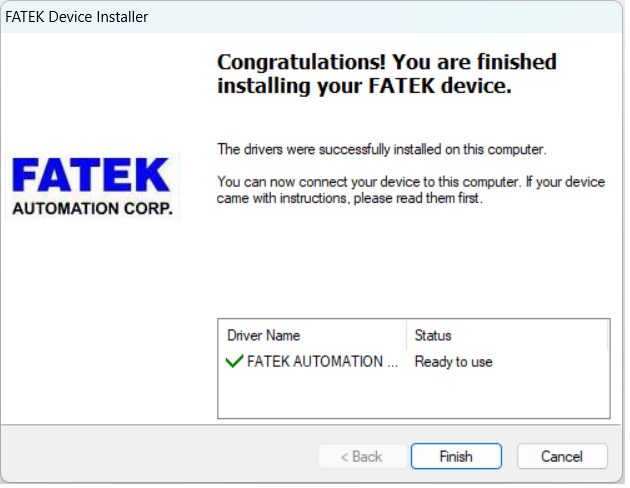
Fig. 5: Drive program installation finished
6. After installing the drive program, the system will show that the UperLogic has been successfully installed. Click [Finish] to complete the installation.
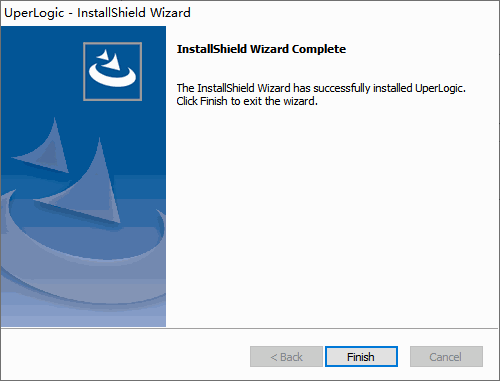
Fig. 6: Installation finished
7. After completing the installation of UperLogic, the user will find the corresponding software shortcut  on the desktop.
8. Double click  shortcut to open UperLogic.
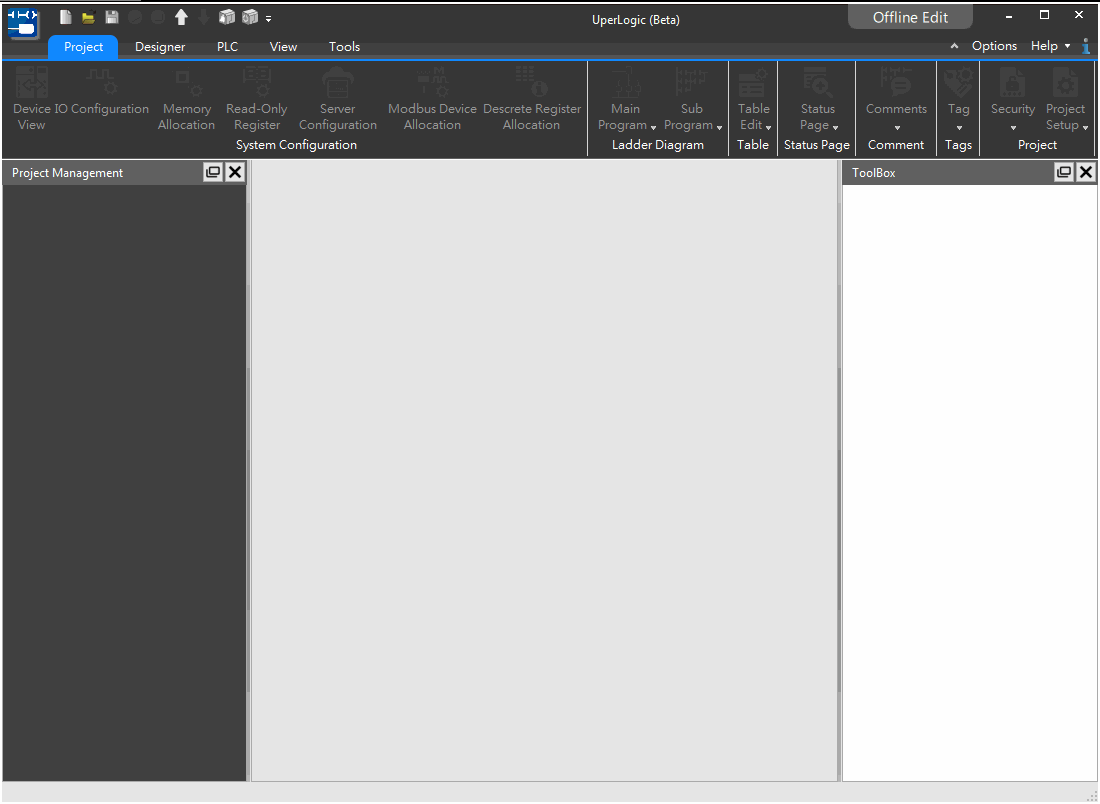
Fig. 7: Open software
Tip: press ← → to switch chapters, Ctrl+K to search